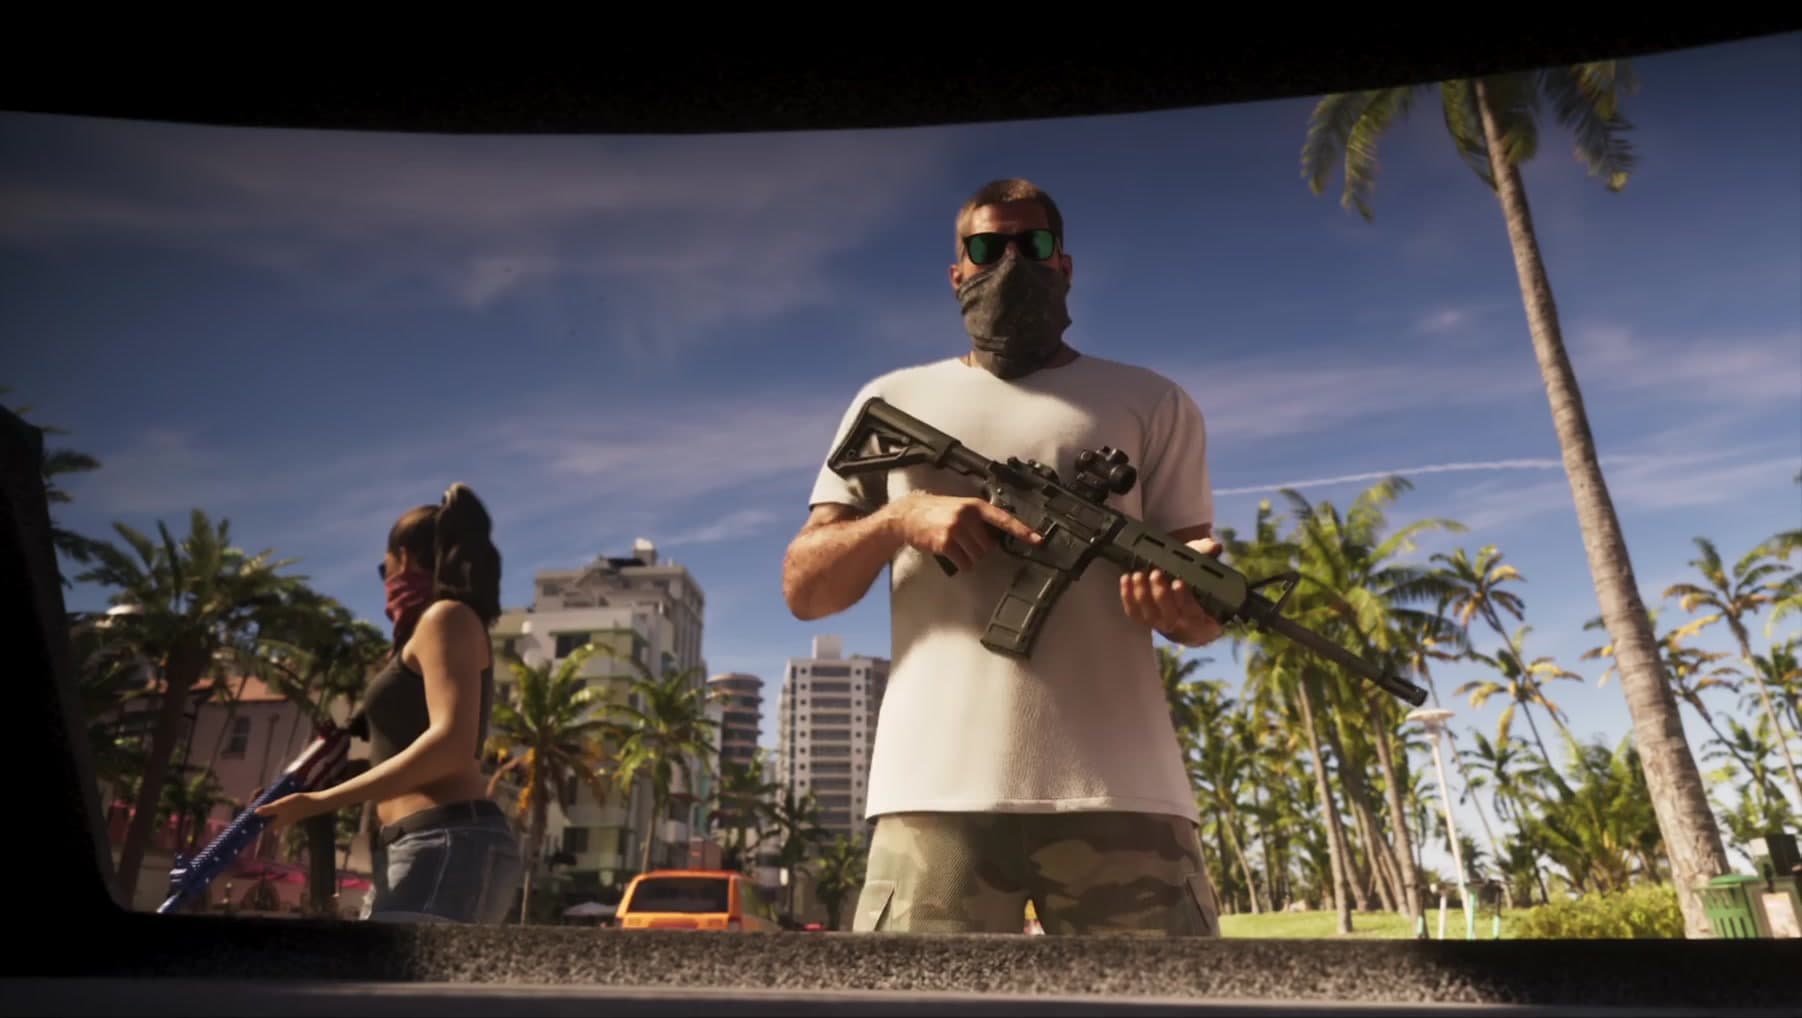
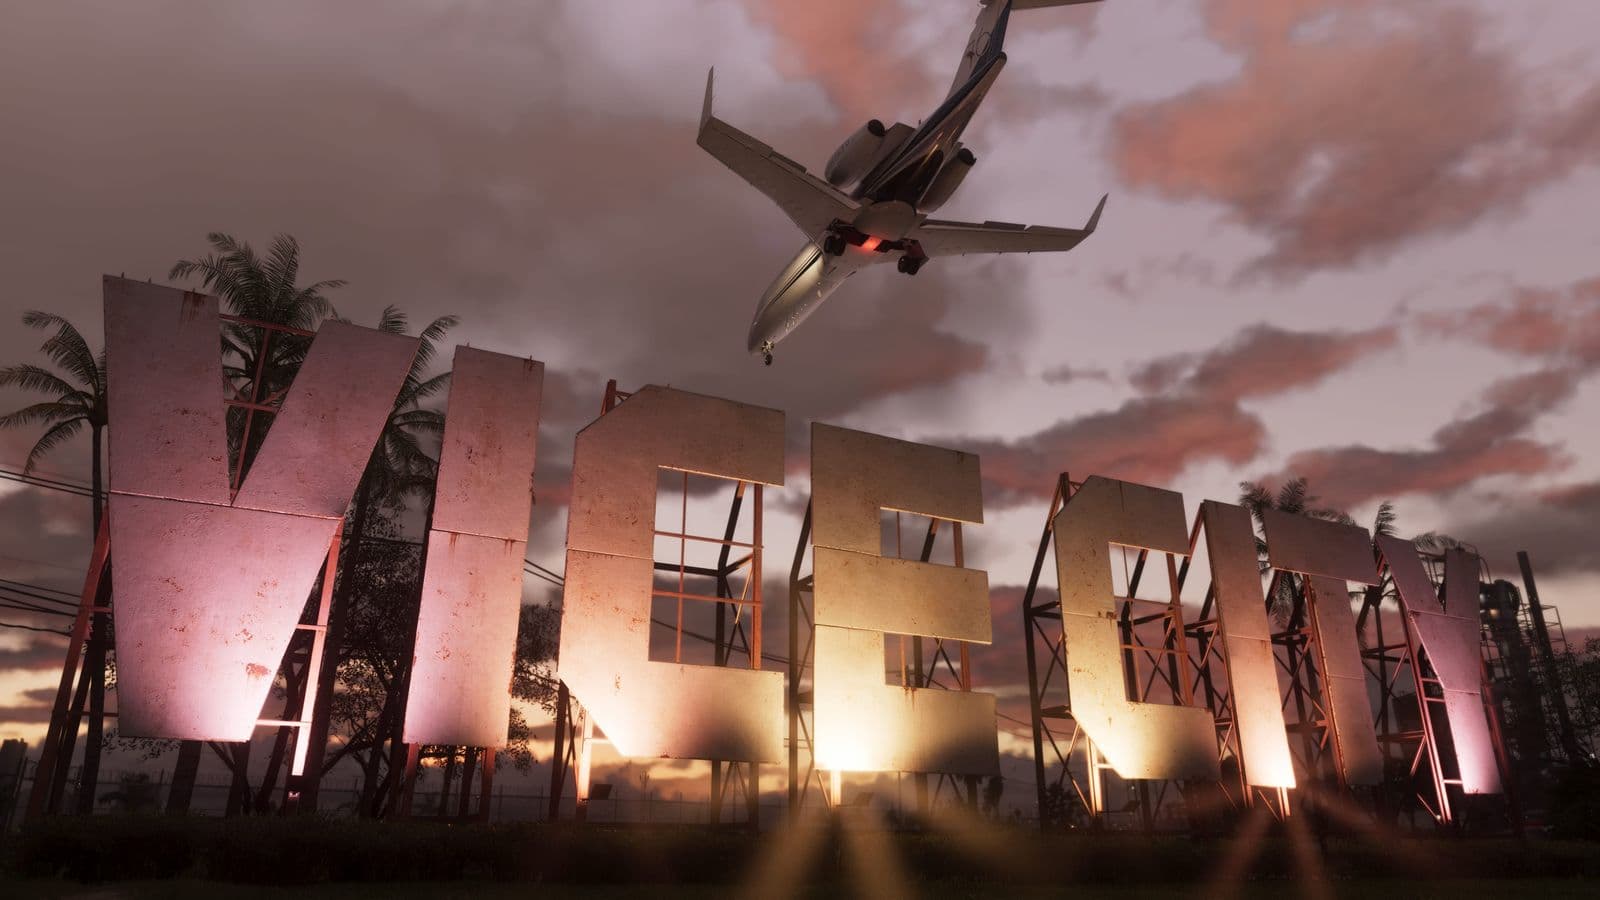
Follow GTA 6’s Extended Look from the opening building and escape to the activities, interface details and Megamundo raid.
This analysis follows the official Extended Look and its recorded scene details. Each section explains the moment in writing; the timestamp afterwards opens the corresponding passage for comparison.
The opening teaches the building before the escape
The camera follows the approach, lobby, lift, corridors and a broken partition before the kitchen scene. Interaction prompts appear along the route.
The approach leads through the lobby, lift and upper corridors before the pair reach a small security hatch and pass through a broken partition into the kitchen operation. The route introduces layers of access: a public entrance, shared circulation space and then a guarded working area. Our reading is that this gives the later escape a recognisable setting. The presence of prompts along the route does not establish unrestricted control through every shot or access to comparable rooms in every building.
Watch 00:09–02:45
Three dog actions and a target label
SCOLD, PET and STUDY appear beside the targeted DOG label; Jason pets it.
The encounter takes place in the building’s upper corridor. The dog rises against Jason as he strokes it, while the choices remain stacked at the lower right of the screen. SCOLD is paired with circle, PET with triangle and STUDY with R1; DOG appears separately beside L2 below the dividing line. That layout separates the animal being targeted from the actions available. Petting is demonstrated in the sequence, while the results of scolding and studying are not shown.
Watch 01:54–02:06
The Unknown caller is identified in dialogue
Dialogue identifies Ernesto before he warns Raymond that people from the task force are coming. The phone screen still labels the call Unknown.
The phone labels the caller Unknown, but the conversation identifies Ernesto before his warning about the task force. Reading only the screen would miss information supplied by the dialogue. His warning changes the scene from a collection visit into an urgent threat to the people inside. The task-force claim belongs to Ernesto’s speech; his full position and how he learned the information are not established simply by the caller label.
Watch 03:21–04:04
Slim jim or smash the window
Two separate actions appear at the red convertible’s door: a tool entry and breaking the window.
At the red convertible’s door, the interface offers two ways into the same vehicle: use a slim jim or break the window. A slim jim is a tool used to manipulate a door lock, so the options describe different physical entry methods. The important sequence is approaching the door, seeing the choice and gaining access. The footage does not play both options under matching conditions, so it cannot establish which is quicker or what either choice does to police attention.
Watch 06:04–06:09
Several robbery images are intercut with the warning
The edit combines changing locations, masks and clothing, including Good Mart and a vehicle escape, beneath Brian’s story.
The warning is accompanied by cuts between different crime-related images. Their placement connects the dialogue to a wider sense of risk, but the edits do not provide a continuous route through a single job. Different shots can suggest the range of trouble surrounding the leads without establishing that each follows directly from the previous one. The montage is therefore best read as presentation and context, rather than a solved mission order.
Watch 11:26–12:17
Extra symbols sit below the wanted stars
Several small symbols accompany the star display during the chase. Clothing, person and vehicle-like shapes are visible in later views.
The smaller indicators sit beneath the stars and use recognisable shapes, including clothing, a person and a vehicle. In later footage they are easier to distinguish against the sky and buildings. Their placement makes them part of the pursuit display, but their exact meanings are not written out. They could be relevant to identification or pursuit information; that remains an interpretation until the symbols are explained or their behaviour can be tested.
Watch 14:14–14:32
The wanted display contains six star slots
A native frame of the motorcycle escape clearly shows a row of six stars, with different fill/brightness states.
The motorcycle escape provides a clear view of the star row at the top right. Six positions are visible, but their brightness and fill are not uniform. Counting the positions answers how many slots the displayed interface contains; it does not mean the character is experiencing six active stars in that frame. The sequence also does not show a controlled escalation through every level or identify the response associated with the highest slot.
Watch 18:06–18:12
An items menu exposes wearable equipment
The overlay separates WEAPONS and ITEMS. A face wrap, glasses, cap and clothing-hanger tile are visible with an equip action.
The selected ITEMS tab sits beside WEAPONS above a ring of equipment tiles. A red face wrap occupies the highlighted upper tile, with FACE WRAP and MASKS written in the centre. Glasses, a cap and a hanger icon occupy other positions. The face wrap, glasses and cap are marked OFF in the checked frame, and PUT ON appears beside the cross button at the bottom right. This is an equipment-selection view with named items and an action, rather than a simple decorative wardrobe image.
Watch 17:50–17:53
Basketball has SHOOT and AIM prompts
A basketball scene presents explicit shooting and aiming controls.
The interface provides SHOOT and AIM prompts while the character lines up at the hoop. That makes this more informative than a background basketball court: the controls are tied to an action in the scene. The short excerpt shows the activity’s immediate interaction, without displaying a tournament structure, team-selection screen or progression system. Readers can distinguish the demonstrated shot controls from the larger modes that remain unknown.
Watch 17:13–17:16
Circuit racing shows laps and a 16-entry field
The racing HUD shows lap 1 of 2 and position out of 16. The player advances through the pack during the excerpt.
The circuit display shows lap 1 of 2 and a position measured against a 16-entry field. As the car moves through the pack, the position changes, giving the audience a way to follow progress independently of the camera. Laps distinguish the format from the percentage-based street race elsewhere in the reveal. Sixteen entries describe this depicted field; the counter does not reveal whether the competitors are human players or establish an online lobby limit.
Watch 17:42–17:47.5
Dirt-bike racing has its own lap and position display
The off-road race uses lap and position counters, with a 12-entry field visible.
The off-road passage combines dirt bikes with its own lap and position counters. A field of 12 is visible in the display, distinguishing the depicted event from the 16-entry circuit and six-entry street race. The useful comparison is between the vehicles, surfaces and progress readouts. The numbers do not establish a universal race size or multiplayer capacity, and the short sequence does not show qualification or rewards.
Watch 18:35–18:39
The in-car view changes after a portrait selection overlay
A two-portrait selector appears during the night drive before the camera changes to the armed passenger’s viewpoint.
The night-driving passage briefly places two character portraits over the action. The following view puts the armed passenger at the centre of the exchange, changing what the player-facing camera is following within the same vehicle scene. The combination of a selector and a changed viewpoint is stronger evidence for a switch than a cinematic cut on its own. The short excerpt still leaves the conditions for opening that selector unexplained.
Watch 18:41–18:44
The speech explicitly identifies a headquarters opening
The speech describes the opening of Megamundo’s first corporate headquarters on American soil.
The speech describes Megamundo’s first corporate headquarters on American soil. That statement explains the decorated entrance, celebration and concentration of company figures. The setting is therefore more specific than a generic nightclub: a corporate opening is taking place inside the building. This also gives the nearby unfinished spaces a useful context, although the speech does not explain the attackers’ access route or involvement in the development.
Watch 22:55–23:12
Lucia’s message mentions a safe room and military-sounding attackers
The message says the attackers are after a person abbreviated Czr, refers to a safe room, automatic weapons and explosives, and describes them as sounding military.
Lucia’s message brings several pieces of information together during the attack: a person abbreviated Czr, a safe room, automatic weapons and explosives. She also says the attackers sound military. The message is valuable because it communicates what she has learned while the pair are separated in the building. The military description is her assessment, and the abbreviation does not establish a full name or prove a government connection.
Watch 23:54–23:57
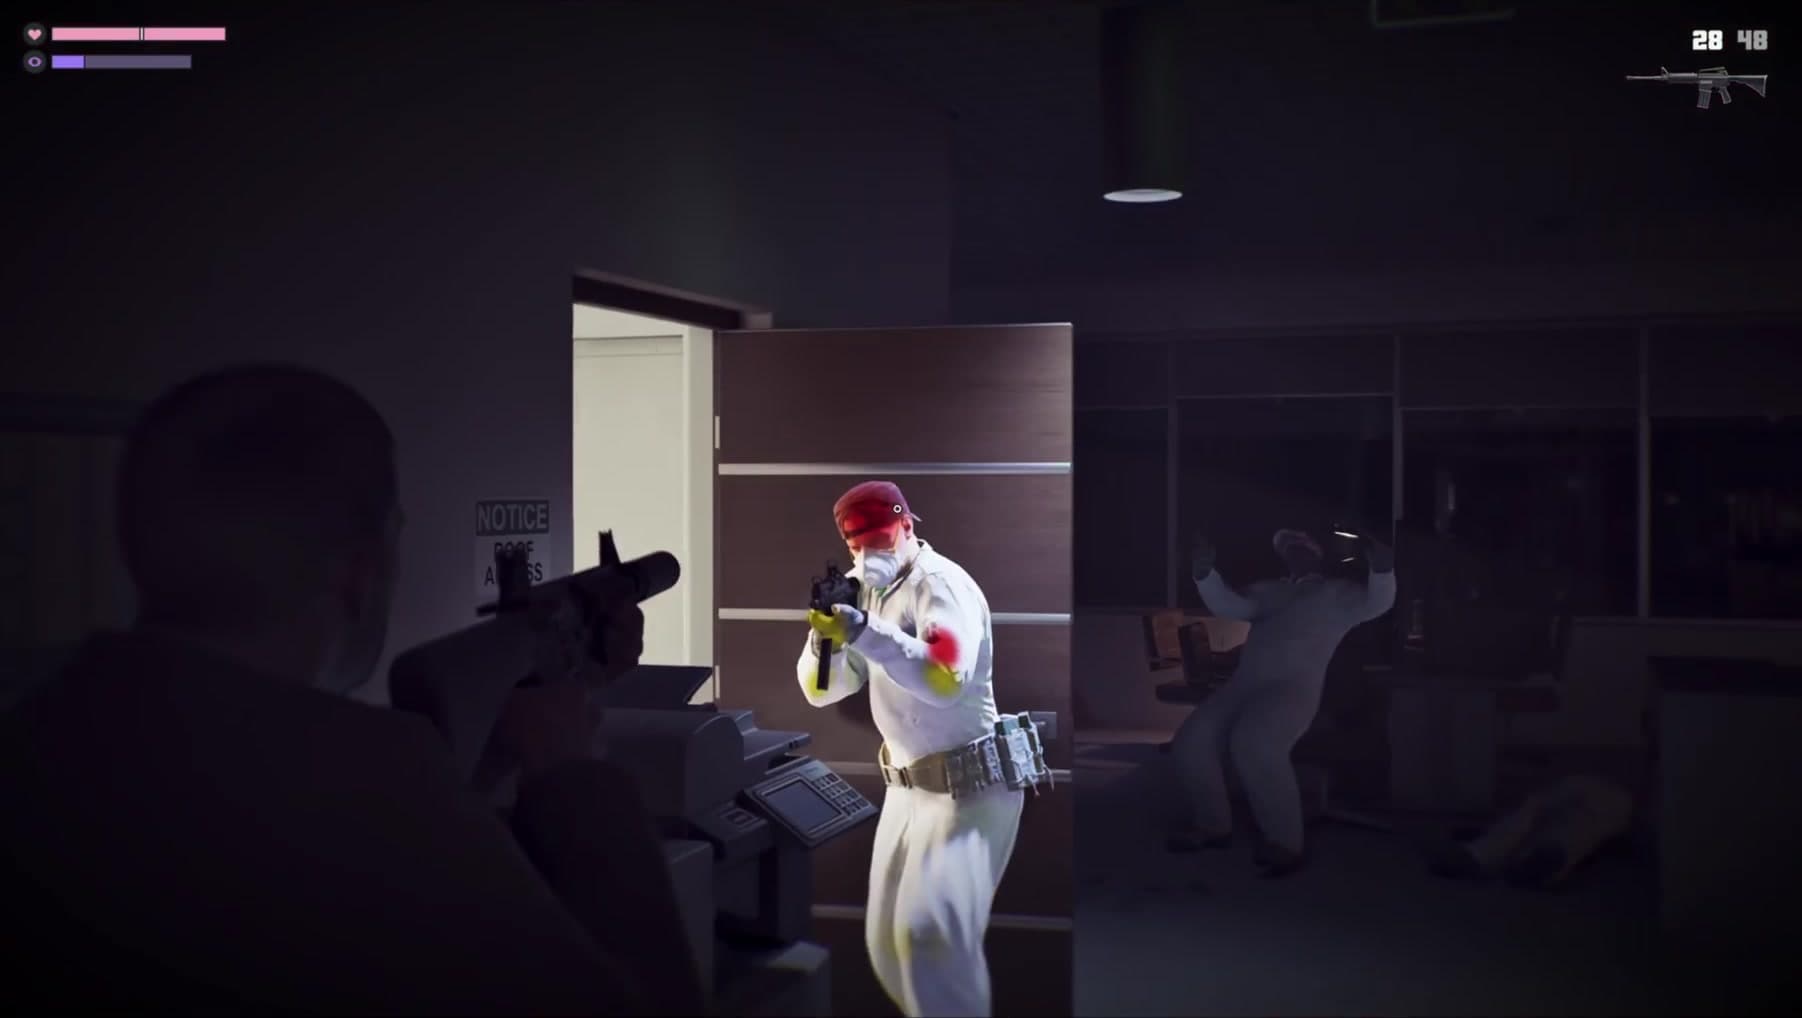
Red and yellow body highlights appear before the shot
The near attacker’s head/shoulder and limbs receive coloured overlays while the visible ammunition count remains 28; a later frame shows 27 and the highlights gone.
The order of the frames is crucial. Red and yellow overlays appear on parts of the nearer attacker’s body while the ammunition display still reads 28. A later frame reads 27 and the overlays have disappeared. Because the colours precede that shot, describing them simply as markers confirming a hit misses what is happening. They appear to provide information during aiming, although the showcase does not give a colour legend or explain whether different highlighted areas have different outcomes.
Watch 25:20–25:23
The last character image returns to the boat
Jason, Lucia and Brian share the final boat scene before the title cards.
Jason, Lucia and Brian share the final boat image before the title cards. Returning to the group after the raid and rapid montage brings the focus back to the people at the centre of the reveal. It is a quieter image than the combat and pursuit sequences. Its position in the presentation gives it emphasis, but does not establish where that moment belongs in the game’s full chronology.
Watch 26:12–26:17
What this tells us
The presentation moves between extended story passages and short demonstrations of everyday actions, activities and interface details. The strongest conclusions come from following the action and its labels together. The specialist articles linked below examine those moments more closely; unexplained meters, mission restrictions and progression rules remain open until a fuller demonstration.
Read next
GTA 6 wanted display: star slots, symbols and the escape shown · GTA 6 aiming overlay: the frame sequence before and after a shot · GTA 6 character switching: the two portrait-selector sequences · GTA 6: confirmed release information and official footage
Correction, 12 September 2026: this article has been revised against the source sequence. Earlier claims that went beyond what the footage establishes have been removed or qualified.
Updated 22 September 2026: expanded the scene descriptions, explained the visible controls and separated observations from interpretation. Timestamp links remain available for checking each passage.
SixCentral is an independent fan resource and is not affiliated with Rockstar Games or Take-Two Interactive. Sources and interpretation are identified in our coverage. Official game imagery is credited to its owner; SixCentral branding is original. This page may contain affiliate links.