Analysis
GTA 6 and Red Dead: visible similarities, unconfirmed systems
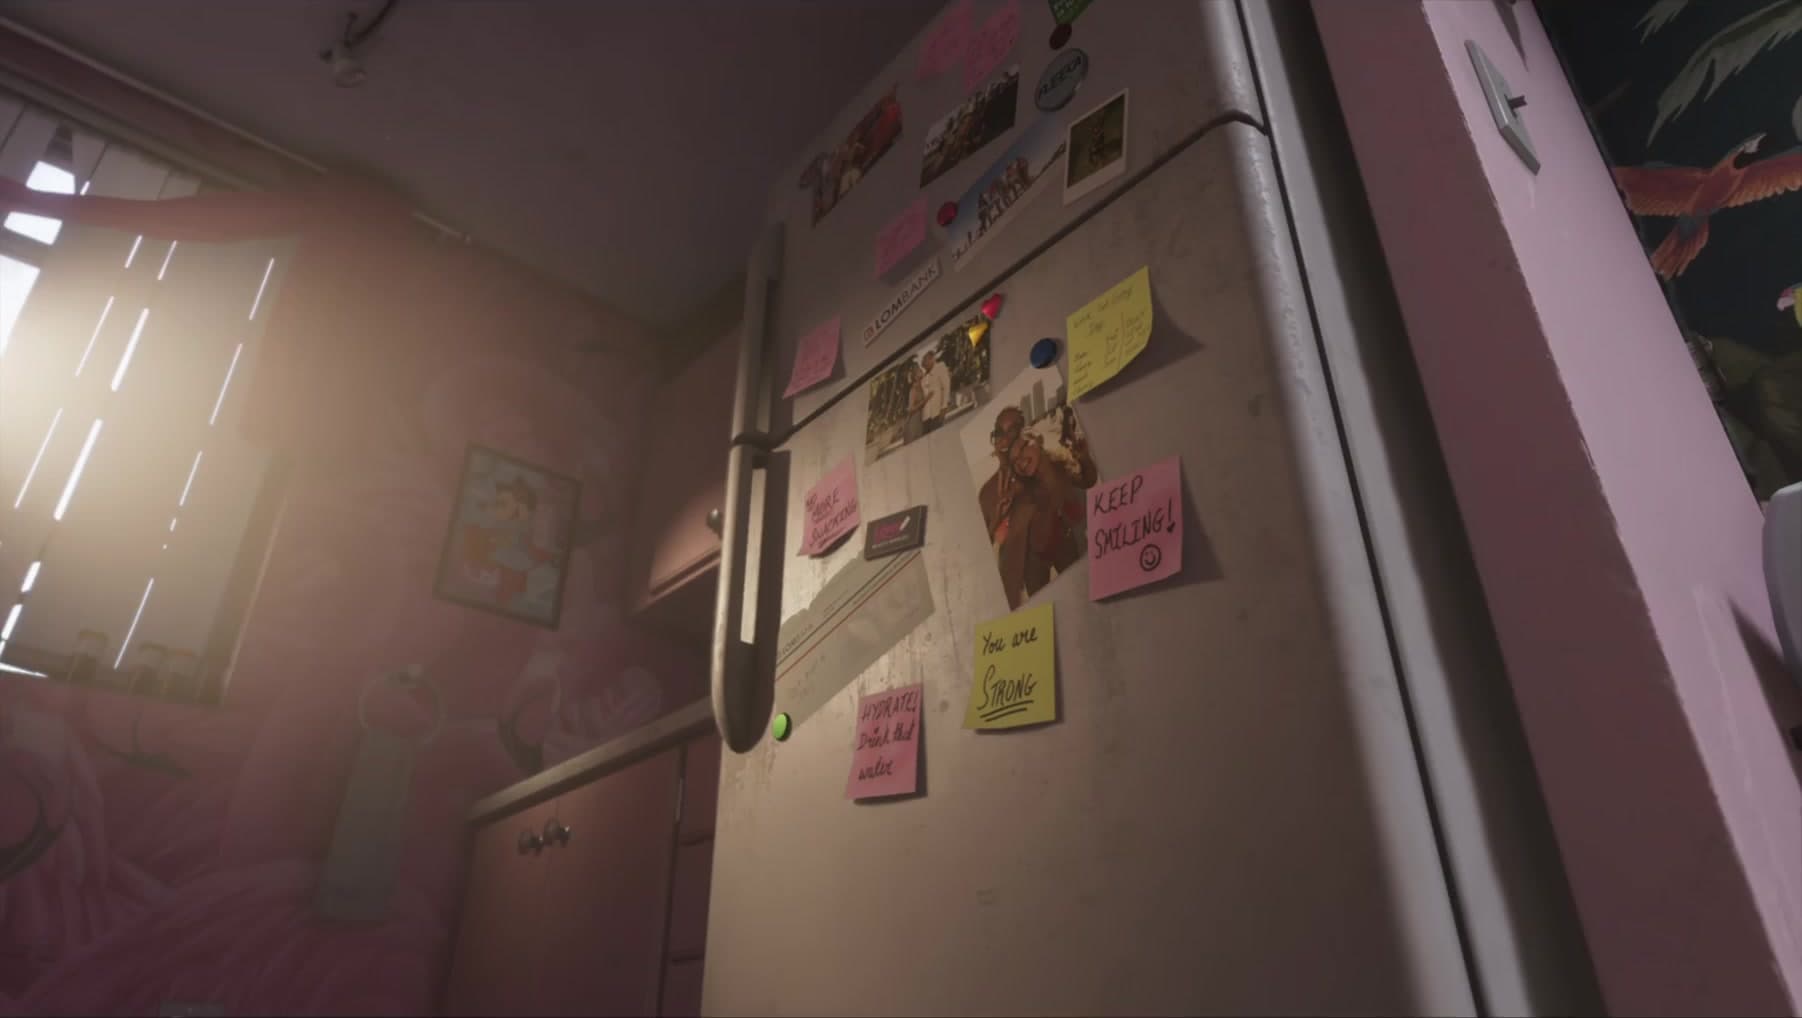 Image: Rockstar Games
What GTA 6’s interaction prompts, animal reaction and aiming display show, and where comparisons with Red Dead remain interpretation.
This analysis follows the official Extended Look and its recorded scene details. Each section explains the moment in writing; the timestamp afterwards opens the corresponding passage for comparison.
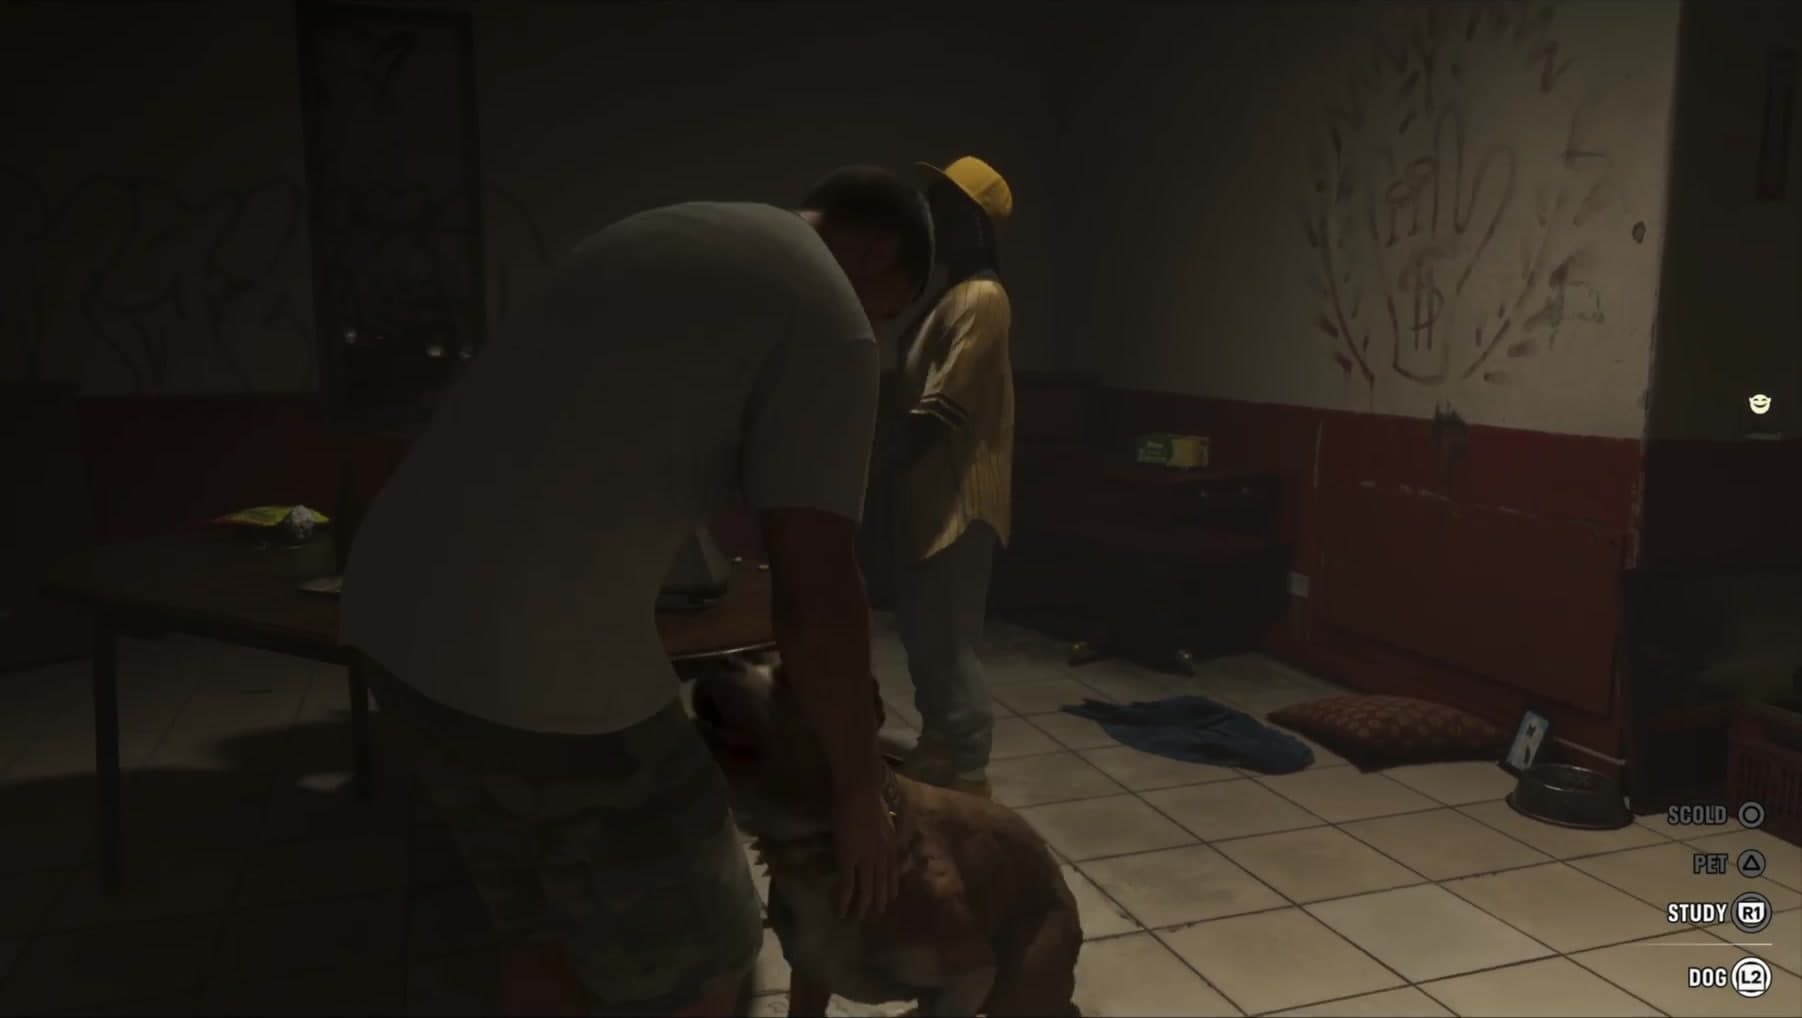
Three dog actions and a target label
SCOLD, PET and STUDY appear beside the targeted DOG label; Jason pets it.
The encounter takes place in the building’s upper corridor. The dog rises against Jason as he strokes it, while the choices remain stacked at the lower right of the screen. SCOLD is paired with circle, PET with triangle and STUDY with R1; DOG appears separately beside L2 below the dividing line. That layout separates the animal being targeted from the actions available. Petting is demonstrated in the sequence, while the results of scolding and studying are not shown.
A reaction icon appears during petting
A small smiling reaction graphic appears during the dog interaction.
The graphic accompanies the physical petting animation, adding a visible response to Jason’s action. Its timing makes it useful as immediate feedback: the interaction has produced a reaction on screen. There is no readable score, level or progress total attached to this moment. It therefore tells us more about how the encounter is presented than about whether the game remembers a long-term relationship with the animal.
Food has use and drop options
Jason holds a food packet with EAT and DROP actions visible near the street shops.
Jason holds a food packet near the street shops while EAT and DROP appear as separate actions. The interface describes what can be done with the object already in his hand, which is more specific than merely showing food in the environment. The scene does not accompany those choices with an explained hunger meter or stat change. It demonstrates an object interaction without defining a survival system.
The kitchen includes an ordinary interaction
A FRIDGE prompt leads to the door opening and a selection of drinks; Jason takes a bottle.
A FRIDGE prompt appears before the door opens. Inside, drinks are available and Jason takes a bottle. The sequence is useful because it follows an ordinary action from a readable prompt to a visible result, rather than merely showing kitchen decoration. It demonstrates that interaction in the flat; no hunger meter, nutritional value or body-weight change is explained alongside it.
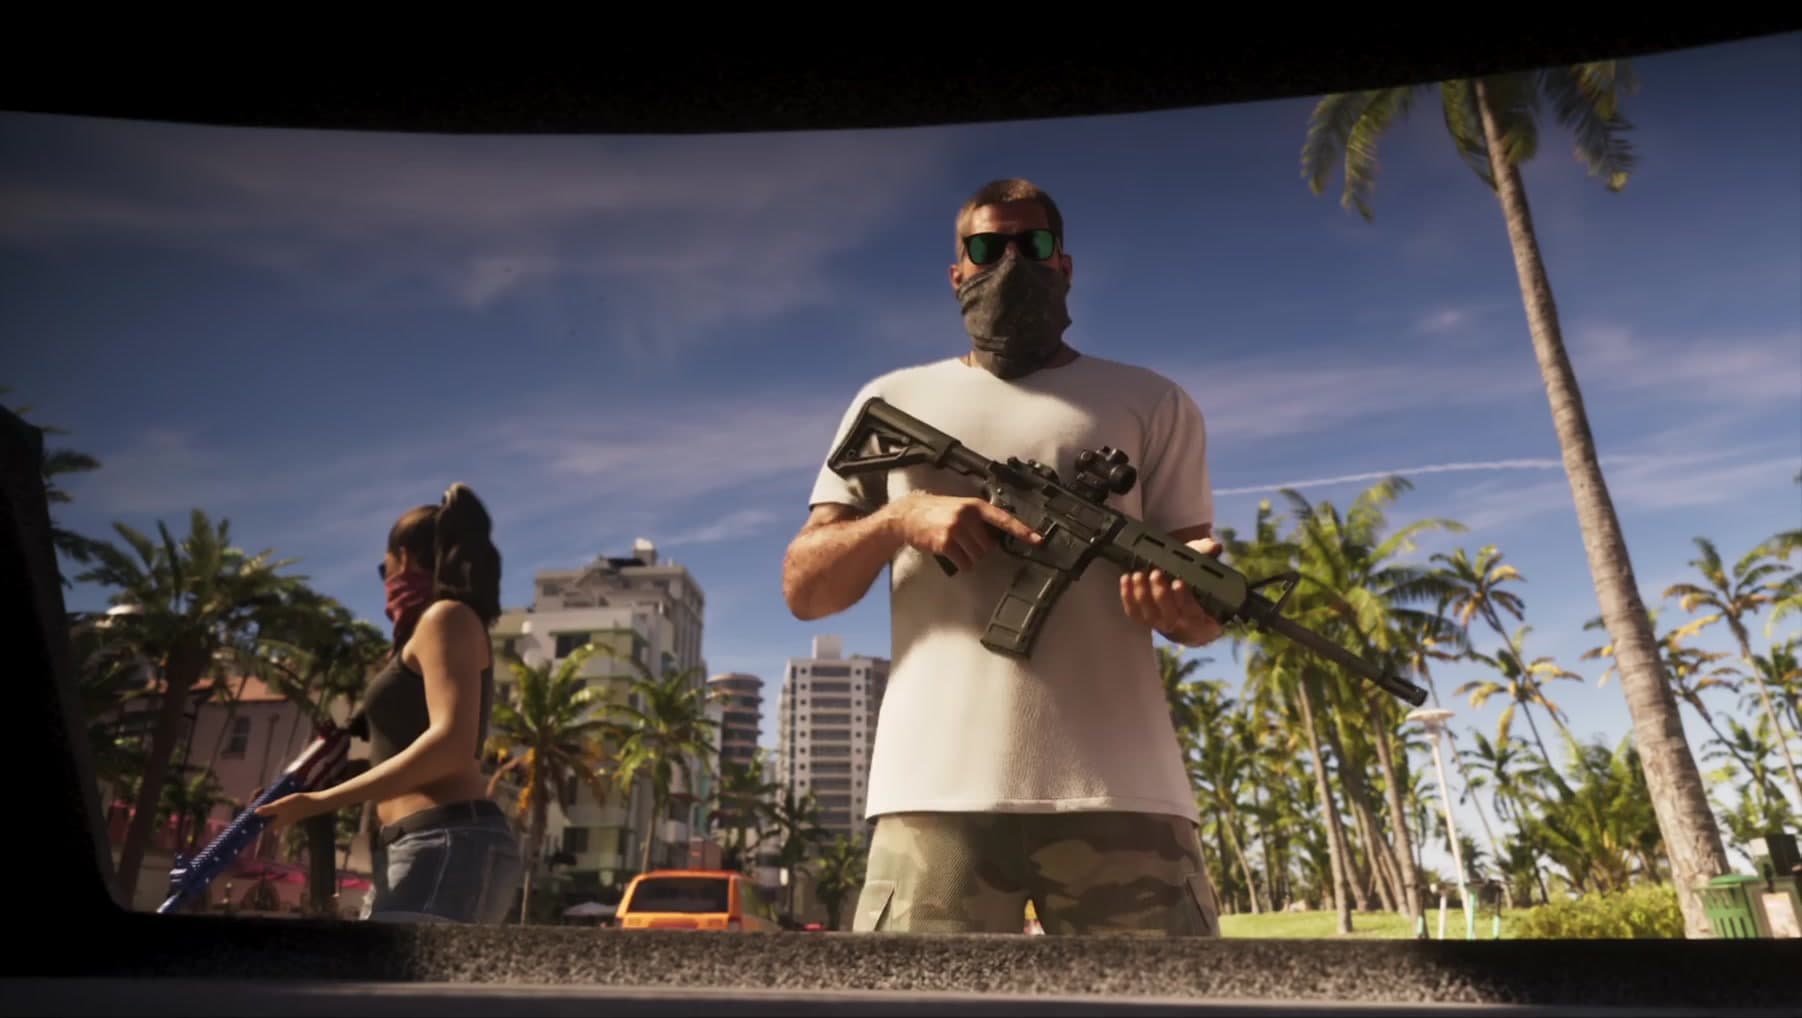
Red and yellow body highlights appear before the shot
The near attacker’s head/shoulder and limbs receive coloured overlays while the visible ammunition count remains 28; a later frame shows 27 and the highlights gone.
The order of the frames is crucial. Red and yellow overlays appear on parts of the nearer attacker’s body while the ammunition display still reads 28. A later frame reads 27 and the overlays have disappeared. Because the colours precede that shot, describing them simply as markers confirming a hit misses what is happening. They appear to provide information during aiming, although the showcase does not give a colour legend or explain whether different highlighted areas have different outcomes.
A purple bar drains during the highlighted aiming sequence
An eye-like purple icon and bar are visible; the bar diminishes while coloured body highlights appear.
The eye-like symbol and purple meter occupy the upper left while the coloured overlays appear on the attacker. Across the checked frames the filled portion of the bar decreases. This places the meter alongside the aiming state in time, which is more informative than treating it as an unrelated decoration. The footage does not name the state, explain activation or show how the meter refills, so an exact ability description would still be premature.
What this tells us
Interaction labels, an animal reaction and the highlighted aiming sequence make comparisons with Red Dead understandable. They are concrete similarities in presentation, but they do not establish identical rules underneath. An honour score, compendium, bond progression or a named aiming ability would each need its own evidence rather than being inherited from another game.
Read next
GTA 6 Extended Look: the gameplay, story and details shown · GTA 6: confirmed release information and official footage
Correction, 12 September 2026: this article has been revised against the source sequence. Earlier claims that went beyond what the footage establishes have been removed or qualified.
Updated 22 September 2026: expanded the scene descriptions, explained the visible controls and separated observations from interpretation. Timestamp links remain available for checking each passage.
Spotted an error? Report it and bank Respect on The Come-Up if you’re right.
Good intel?
Related
Gameplay analysis
GTA 6 Extended Look: the gameplay, story and details shown
Updated 22 Sept 2026

Official information
GTA 6: confirmed release information and official footage
Updated 22 Sept 2026
Gameplay analysis
GTA 6 animal interactions: the three dog actions shown
Updated 22 Sept 2026
SixCentral is an independent fan resource and is not affiliated with Rockstar Games or Take-Two Interactive. Sources and interpretation are identified in our coverage. Official game imagery is credited to its owner; SixCentral branding is original. This page may contain affiliate links.